
8 September 2026
How to Use HeatOne Temperature and Timer Settings for Work Lunches
By OpenClip
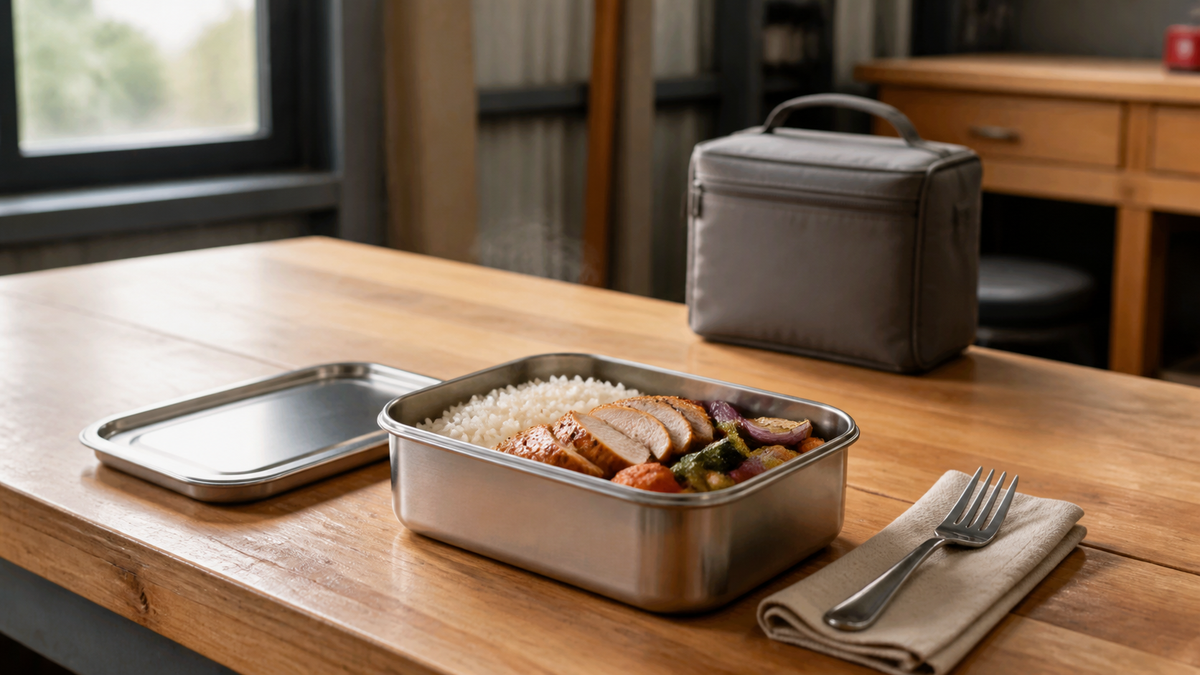
There is no single HeatOne temperature and timer combination for every work lunch. Choose from the six temperature and six time settings based on the meal’s starting temperature, portion and density, then confirm the food itself is thoroughly hot before eating. A device setting is a target for the lunch box—not proof of the temperature at the centre of the meal.
Know the controls before choosing a setting
The HeatOne™ Cordless Heated Lunch Box currently offers six temperature settings: 65, 70, 75, 80, 85 and 90°C. Its selectable heating times are 20, 30, 40, 50, 60 and 90 minutes. The unit uses a 60W heating system and a removable 1L food-grade 304 stainless steel container.
Those controls give you options, but the displayed setting and elapsed time do not tell you the food’s internal temperature. Heat moves differently through soup, rice, pasta, dense meat portions and mixed meals. The current product page also states that results vary with the selected settings, food type, portion size, starting temperature and ambient conditions.
Start with food that has been stored correctly
The heating decision begins before you press a button. Pack cooked food only after it has been cooled and refrigerated correctly, and keep a perishable lunch cold during transport until heating begins. Food Standards Australia New Zealand advises keeping potentially hazardous food at 5°C or colder, or 60°C or hotter, unless a safe alternative time-based system is used.
Use an insulated bag with suitable cold packs when refrigeration is not available, and minimise the time the meal spends between 5°C and 60°C. Do not leave a chilled lunch in a hot ute or on a sunny bench while waiting for smoko. For more preparation guidance, see our work-lunch packing guide.
Match the timer to the meal, not the clock
Use the timer as a planning tool, then verify the result. A smaller, evenly spread portion will generally heat differently from a deep, compact serve. A meal taken directly from the fridge will also start colder than one that has already warmed during transport.
Before setting the timer:
- Check that the meal has remained properly chilled.
- Place food evenly in the stainless container rather than creating one thick mound.
- Select a time that allows the meal to heat before your planned break.
- At the end, carefully check the centre and several points in mixed food.
- If it is not thoroughly hot, continue heating and check again before eating.
The 20-minute option should not be treated as a guaranteed reheating time, and 90 minutes should not automatically be used for every meal. Build a repeatable routine from actual results with the same recipe, portion and starting conditions.
Use temperature settings as controlled options
The six HeatOne temperature settings range from 65 to 90°C. A higher setting does not remove the need to check the food, and a lower setting is not automatically right for delicate meals. Choose within the product controls, follow the supplied instructions and verify the meal itself.
For previously cooked and chilled food, FSANZ consumer guidance says to reheat it quickly until piping hot. Its food-business guidance says food being reheated for hot holding should reach at least 60°C rapidly, ideally within two hours. At home or work, a clean food thermometer provides more useful evidence than touching the outside of the container or relying on steam alone.
Insert a clean probe into the thickest or coolest-looking part of the food and check more than one spot in mixed dishes. Clean and sanitise the probe before and after use. If you are uncertain whether the food was stored or heated safely, do not guess.
Understand heating and keep-warm as separate stages
Heating raises the temperature of a chilled meal; keep-warm functionality is intended to maintain warmth after heating. It should not be used to slowly rescue food that has spent too long at an unsafe temperature, and it does not replace verifying that the food became thoroughly hot.
Plan the cycle so the meal is ready close to your break. Once heated, eat promptly where practical. Avoid repeatedly cooling and reheating the same portion. If plans change, use current food-safety guidance rather than leaving the meal warm for an unknown period.
Adjust for different meal shapes
The following are practical variables to observe, not guaranteed setting prescriptions:
- Soups and stews: check the centre and edges, and stir carefully if the food and product instructions allow.
- Rice or pasta dishes: spread the portion evenly and check beneath dense toppings.
- Large pieces of cooked meat: check the thickest section rather than only the surrounding sauce.
- Mixed meals: test several locations because ingredients can warm at different rates.
- Frozen meals: thaw safely in the fridge first unless the recipe and product instructions specifically support another method.
Record the recipe, starting condition, selected temperature and timer, then note whether extra heating was needed. That gives you a personal reference for the next identical lunch without turning one result into a universal claim.
Use the meal prep insert correctly
The HeatOne™ Meal Prep Insert can help keep prepared portions organised. The current product page describes a food-safe stainless steel insert with an individual storage lid. Remove that storage lid before placing the insert into HeatOne.
If you are planning several lunches, our guide to how many HeatOne meal prep inserts you need compares the current pack options. The HeatOne work lunch checklist covers the broader weekly routine.
A repeatable HeatOne work-lunch routine
- Cool and refrigerate cooked food promptly.
- Transport perishable food cold until heating begins.
- Spread the portion evenly in the removable stainless container.
- Select a temperature and time based on the meal and starting conditions.
- Check the actual food, especially the centre and dense areas.
- Continue heating if the meal is not thoroughly hot.
- Eat promptly and avoid repeated cooling and reheating.
- Clean and dry the container and any thermometer after use.
Frequently asked questions
What temperature settings does HeatOne have?
HeatOne currently offers 65, 70, 75, 80, 85 and 90°C settings. These are device settings; always assess the temperature of the food itself before eating.
What timer settings does HeatOne have?
The selectable times are 20, 30, 40, 50, 60 and 90 minutes. Actual heating needs vary with the food, portion, starting temperature, selected setting and ambient conditions.
Which HeatOne setting should I use for leftovers?
There is no universal setting for all leftovers. Choose a time and temperature appropriate to the portion and starting conditions, then confirm the centre is thoroughly hot and continue heating if necessary.
Does a 90°C setting mean the food is 90°C?
No. The selected setting is not proof that every part of the food has reached that temperature. Check the food itself, particularly dense and central areas.
Can I leave a cold lunch in HeatOne all morning before heating?
Perishable food needs safe cold storage until heating begins. Use refrigeration or an insulated setup with suitable cold packs, and minimise time between 5°C and 60°C.
Choose settings, then verify the meal
HeatOne’s temperature and timer choices help you fit heating around the workday, but the final check belongs to the food. View HeatOne™ Cordless Heated Lunch Box, follow the supplied instructions and build a routine from verified results with your regular meals.