
30 September 2026
How to Organise a Craft Project You Can Pause and Return To
By OpenClip
A simple pause-and-return system keeps an unfinished craft project, its materials and its next step together. Use one project home, a clear progress cue and a short closing routine to make restarting easier—even when your creative time comes in small windows.
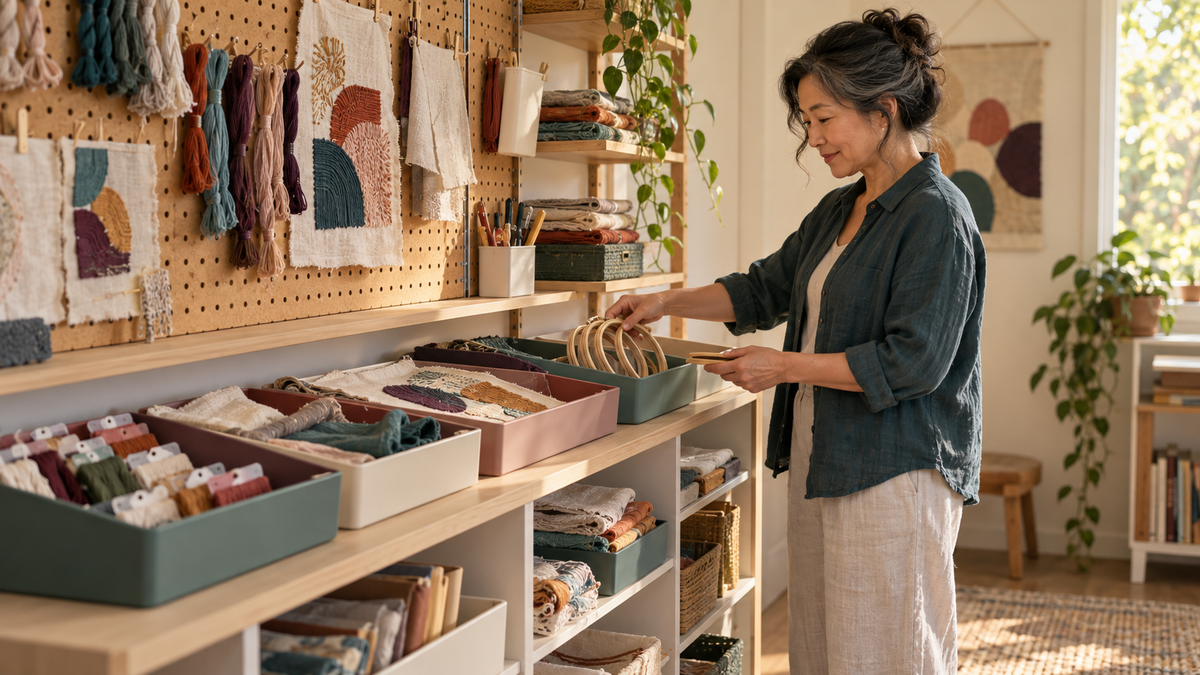
A craft project is easier to return to when its materials, tools and next step stay together. A simple pause-and-return system does not require a perfect studio: one project container, a visible progress note and a two-minute closing routine can protect your work and remove the guesswork when you next have time to make.
Why unfinished projects become difficult to restart
The hardest part of returning to a project is often not the making itself. It is reconstructing the moment you left: finding the correct thread, remembering which piece comes next, checking whether a tool wandered into another drawer and deciding where to begin.
This is especially true when creative time arrives in small windows. A project may need to share space with work, meals or other activities, and it may be several days before you pick it up again. The aim is not to keep everything permanently on display. It is to preserve enough context that your hands can begin before your attention drifts elsewhere.
Give every active project one home
Choose a container that fits the project rather than your entire craft collection. A shallow tray, lidded box, zip pouch or small basket can all work. What matters is that the current materials stay together and the container can move safely from your making spot to its storage place.
Keep only what this project needs inside it. The full ribbon collection, every spare needle and all of your fabric can remain in general storage. A project home should hold the selected colours, current pieces, instructions and the small tools you are actively using. Less searching makes the next session feel lighter.
For flat work, place a clean sheet of paper, board or cloth between delicate layers. Keep loose components in smaller compartments or plain reusable pouches inside the main container. If a project includes sharp tools, fit their covers and store them in a separate closed section before moving the container.
Leave yourself a clear next step
A useful progress note can be very short. Write down what you have just finished and the first action for next time: “finish the plum section”, “join the next square” or “choose the border colour”. If written notes interrupt your flow, place the next material on top or use a removable marker that will not damage the work.
Be specific enough that you will understand the cue later. “Keep going” is less useful than “start at the upper-left corner with teal”. If you are following a chart or pattern, mark your place using the method recommended for that material. Avoid permanent pens, sticky adhesives or pins where they could stain, snag or mark the finished surface.
Use a two-minute closing routine
A closing routine turns tidying into part of the project rather than a separate household task. Try the same short sequence each time:
- Stop at a sensible point. Complete the small action already in your hands rather than starting a new section.
- Secure the work. Cap tools, close containers, gather loose pieces and protect any tacky or delicate surfaces.
- Record the next move. Add one plain-language note or visual cue.
- Return everything to the project home. Keep the selected materials and instructions together.
- Put the container in its assigned place. Choose somewhere dry, stable and away from direct sun, moisture, pets and small children.
The routine should be brief enough to use even when you are tired. If it becomes an elaborate reset, simplify it until it fits the way you actually make.
Set up your next session before it begins
When you return, open the project home and read your next-step cue before spreading everything out. Take out only the materials for that stage. This keeps the workspace calmer and reduces the chance of mixing components from different parts of the project.
A small portable work surface can help if your making area changes. Use a firm tray or board large enough for the active section, with enough room to work safely. It should be stable on the table and easy to lift without loose pieces sliding. For projects involving cutting, heat or other specialised tools, follow the product instructions and prepare an appropriate protected surface rather than relying on a general-purpose tray.
Organise by project stage, not just by material
General storage often groups like with like: thread with thread, paper with paper and tools with tools. Active-project storage works better when it follows the order of use. Put the current stage at the front, later choices behind it and completed pieces in a protected section.
This approach is useful when a project has many small parts. You can separate “now”, “next” and “finished” without adding a complicated filing system. It also makes it easier to see when a piece is missing before you pack everything away.
If colour decisions are slowing you down, revisit our guide to choosing a craft colour palette without overthinking it. Keeping a small, decided palette with the project can prevent repeated sorting at the start of every session.
Make the system suit your space
You do not need a dedicated craft room. In a shared living area, a closed container on a bookshelf can be enough. In a small apartment, a slim under-bed box or one shelf of a cupboard may suit larger work. If you prefer to see your materials, use open trays inside a cabinet so the project is visible when the door opens but protected when it closes.
Limit the number of active project homes to what your storage can comfortably hold. This is not a rule against starting something new; it is a way to make each work-in-progress easy to find. Projects you are deliberately resting can move into longer-term storage with a fuller note about their materials and current stage.
What belongs in a pause-and-return kit?
- the current work and any separated completed pieces;
- only the materials selected for this project;
- the instructions, chart or reference you are using;
- the essential tools for the next stage, stored safely;
- a progress cue or note;
- a protective layer or small compartments where the materials need them.
If you are starting a new project, browse the current Crafting collection and check the individual product page for the exact contents, selected design and any tools required separately. The Craft Tools collection can help when a verified project calls for a separate tool.
Frequently asked questions
How should I store an unfinished craft project?
Keep the work, current materials, instructions and essential tools together in one suitable container. Protect delicate surfaces, secure sharp tools and choose a dry, stable storage place away from direct sunlight, moisture, pets and small children.
What is the easiest way to remember where I stopped?
Leave a short next-step note before packing up. Record the last completed stage and the first action for next time. A precise cue such as “begin the teal border at the upper-left corner” is more useful than a general reminder.
Do I need a dedicated craft room?
No. A portable tray or lidded project box can create a temporary making space on a suitable table, then move to a cupboard or shelf. The system should fit your home rather than require a permanent studio.
How many craft projects should I keep active?
There is no correct number. Keep as many as you can store clearly without mixing pieces or losing track of the next step. Move projects you are intentionally resting into longer-term storage with a detailed progress note.
How can I stop small craft pieces from getting mixed up?
Use small compartments or plain reusable pouches inside the main project container. Separate materials by the stage in which you will use them, and keep completed components in their own protected section.
A gentle restart is still a restart
Your next session does not need to be long. Open the container, follow the cue and complete one small section. A well-kept project remembers the practical details for you, leaving more of your time for the part that matters: making something at your own pace.