
31 October 2026
How to Display Small Fabric Art Without Crowding a Wall
By OpenClip
Give small fabric art room to breathe with one clear anchor, consistent spacing, restrained frames and a compact ledge or wall arrangement.
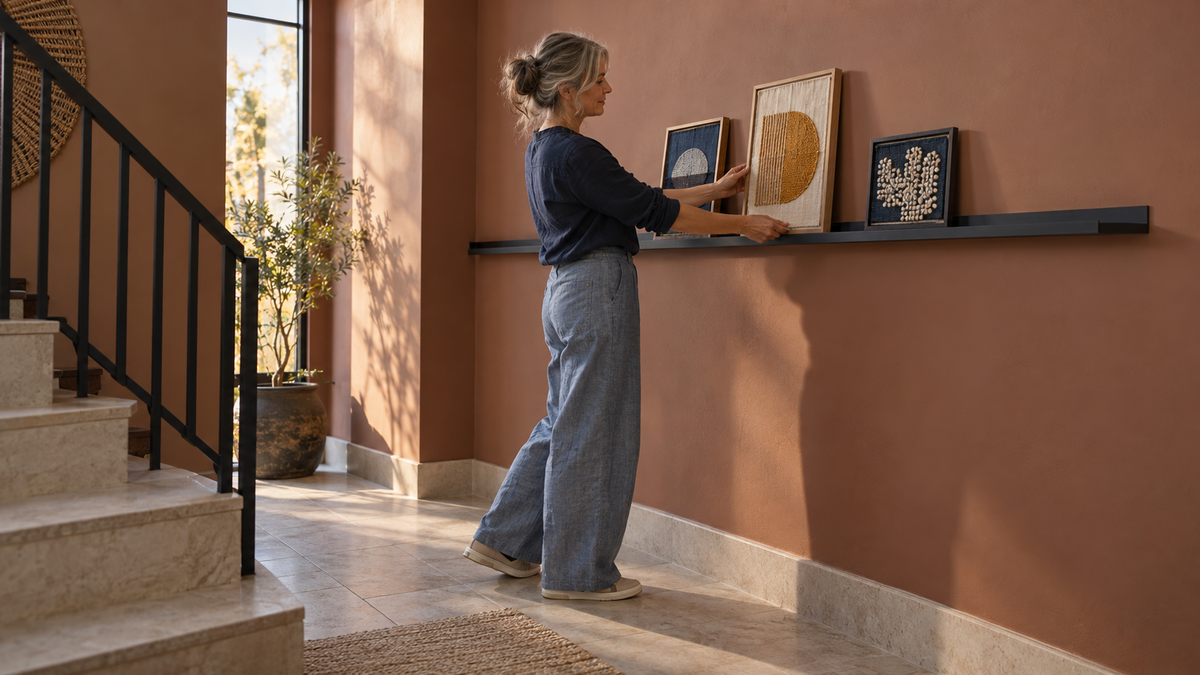
Small fabric art looks most considered when it has room to breathe. Choose one clear viewing area, repeat a simple frame or colour detail, and leave more empty wall than you first think you need. A picture ledge, single anchor piece or compact three-piece group can make handmade work feel intentional without turning the whole wall into a busy gallery.
Begin with the wall, not the artwork
Before choosing frames or arranging pieces, stand where you normally enter the room. Notice which wall catches your eye first and what already competes for attention: a window, bookshelf, television, patterned rug or large plant. The best display area is often a quieter stretch of wall rather than the biggest one.
Measure the usable section and mark its edges lightly with removable painter’s tape. This gives you a boundary for the arrangement and makes it easier to resist spreading small pieces across the entire wall. Keep clear of light switches, vents and doors, and check that frames will not be knocked by people moving through the space.
Choose one visual anchor
An anchor gives the eye somewhere to begin. It might be the largest textile piece, the strongest colour, the most detailed design or simply the work that matters most to you. Place it first, then let smaller pieces support it.
If every piece is the same size, create an anchor through position rather than scale. Put one work slightly off-centre and group the others around it, or use a row in which the middle piece carries the strongest contrast. Avoid making every item compete equally.
You can also let furniture act as the anchor. A narrow console, reading chair or low cabinet creates a natural zone above it. Keep the display visually connected to that object instead of letting it drift towards the ceiling.
Use fewer pieces than the wall can hold
A small collection does not need to fill every gap. Start with three pieces and assess the arrangement from across the room. Odd numbers often make a relaxed grouping easier, but two pieces can look beautifully calm when their proportions and frames relate.
As a practical guide, keep the total arrangement narrower than the furniture beneath it. If there is no furniture, define a compact imaginary rectangle and keep all the work inside it. Empty space around that rectangle is part of the display, not a problem waiting to be filled.
When you have more work than the wall needs, rotate pieces seasonally or when you finish something new. A small stored selection makes each change feel fresh and prevents the display from becoming a permanent record of everything you have ever made.
Repeat one detail to make different pieces belong together
Handmade work can vary in colour, technique and texture. You do not need identical frames, but repeating one design detail helps the group feel connected. Choose one of these approaches:
- Use the same frame colour in two or three different sizes.
- Repeat a narrow cream mount around varied artwork.
- Choose one accent colour that appears somewhere in each piece.
- Keep all frames visually light, even if their materials differ.
- Group work by mood, such as botanical shapes, coastal colours or graphic geometry.
Do not force perfect matching if it flattens the character of the work. The goal is a small visual connection, not a showroom set.
Try a picture ledge before making a gallery wall
A picture ledge is useful when you like changing the display or are unsure about final spacing. Frames can overlap slightly, which creates depth without requiring many wall fixings. Keep the overlap gentle enough that each artwork remains readable.
Place the largest piece first, add one smaller work to each side, then stop. Leave a section of the ledge empty. This negative space makes the arrangement look deliberate and gives you somewhere to add a new piece later without rebuilding the whole display.
Use a ledge rated for the combined weight of the frames and install it according to the manufacturer’s instructions for your wall type. If you rent, check what fixings are permitted before drilling. Freestanding frames on a deep shelf or cabinet can offer a lower-commitment alternative.
Test the arrangement at full size
Trace each frame onto spare paper, cut out the shapes and tape them to the wall with a removable product suitable for the paint finish. Stand back, sit down and look from the doorway. The display may feel balanced close up but too high or too scattered from the places where you actually see it.
Keep spacing consistent enough to feel related. For small frames, a hand-width gap is a useful starting point, but the exact distance depends on frame size and the room. Narrow gaps create one compact composition; wider gaps make each piece read separately.
Photograph the paper layout before removing it. That gives you a simple reference when installing frames and helps prevent last-minute drift.
Protect fabric from light, dust and moisture
Textile work deserves the same practical care as the rest of the room. Avoid damp walls, steamy areas and prolonged direct sunlight, which can affect fabrics and colours over time. Keep the work away from cooking splashes and from places where frames are regularly brushed by bags or coats.
If a piece sits behind glazing, make sure the fabric does not press tightly against the glass. A mount or spacer can create separation. For open textile pieces, gentle dusting around the frame is safer than aggressive cleaning. Follow any care guidance that came with the particular work or materials.
Looking for another project to make and display? Browse the current OpenClip craft collection and check each project’s live details before choosing.
Style the room around the work, lightly
Let the fabric art carry the colour story. You might repeat one shade in a cushion, book spine or small object nearby, but avoid surrounding the display with many decorative props. A clear surface below the art often does more for it than another layer of styling.
If the room already contains several patterns, choose the calmest wall and use simple frames. If the room is neutral, a textile piece can supply the texture and colour without needing a large group.
For more ways to present completed work, see how to photograph handmade projects at home and how to organise fabric scraps by colour and project.
Frequently asked questions
How many small fabric artworks should I display together?
Start with two or three. Add another only if the group still has a clear anchor and enough empty wall around it.
Do all the frames need to match?
No. Repeating one detail—such as frame colour, mount colour or a shared accent—is usually enough to make varied pieces feel connected.
How high should small fabric art hang?
Test it from the main viewing position rather than relying on one universal measurement. Use paper templates, then check the arrangement while standing, seated and entering the room.
Can I display textile art without drilling many holes?
A properly installed picture ledge reduces the number of individual frame fixings. A deep shelf or cabinet can also hold freestanding frames, subject to stability and weight limits.