
23 September 2026
How to Use Fuse Beads: A Perler Bead Guide
By OpenClip
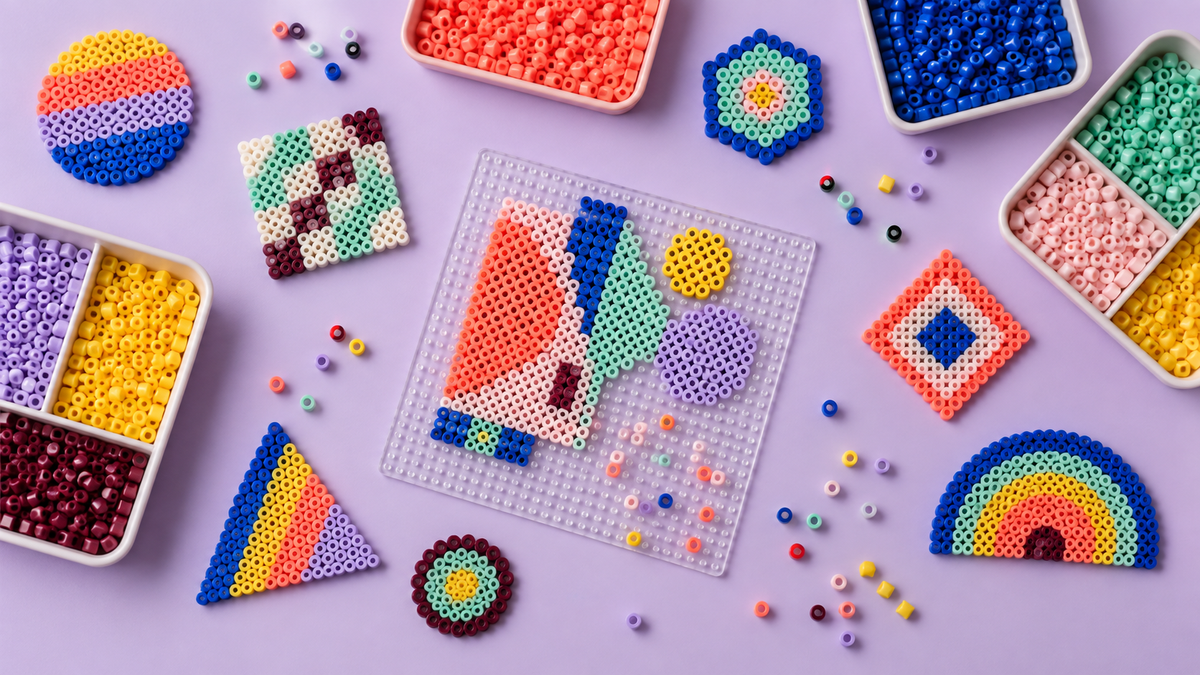
Fuse beads—often searched for as Perler beads—are tiny coloured beads arranged on a pegboard and joined with gentle heat to create pixel-style art. You can follow a pattern, change a few colours or invent something entirely your own. The simple place-and-adjust process makes this an easy craft to pick up when you want enjoyable, low-pressure creative time.
What are fuse beads?
Fuse beads are small plastic craft beads designed to sit upright on a pegboard. You build an image one bead at a time, cover the finished layout with the correct ironing paper, then use heat to join the beads into one piece.
Perler is a well-known brand name, so people often use “Perler beads” when talking about this kind of craft. OpenClip’s product is a Mini Fuse Bead Kit, not a Perler-branded product. The basic creative idea is the same: coloured beads become a piece of pixel art.
Because the pegboard works like a grid, each bead acts like one pixel. Curves become small steps, shading is built from nearby colours and the clearest designs often begin with a simple silhouette. That structure gives you a starting point without deciding what the finished picture must be.
How to make fuse bead art
The making process is straightforward: choose an idea, arrange the beads, check the design and fuse it according to the instructions supplied with your materials.
1. Choose a small first idea
Start with a shape that is easy to recognise on a grid. A flower, heart, fruit slice, initial, coaster motif or simple geometric pattern is easier to adjust than a detailed portrait. Keeping the first project compact also lets you learn how colours and outlines read once the piece is lifted from the board.
2. Pick a limited colour palette
You do not need every colour at once. Choose three to six shades: perhaps one outline colour, two main colours and one highlight. A limited palette can make decisions quicker and give even a playful design a clear visual direction.
If you want to experiment, try making the same small motif twice with different palettes. A strawberry can become pink and cream instead of red and green; a flower can move from soft lilac to bright cobalt and coral. The grid stays the same while the character changes completely.
3. Build from the outline inward
Place the outer edge first if you are following a recognisable shape. This helps you check its overall size and leaves room to revise before filling the centre. For abstract work, begin with one block or line and let the design grow in whichever direction looks interesting.
Tweezers can make mini beads easier to position. If a section feels wrong, lift a few beads and try another arrangement. Nothing is fixed during this stage, so changing your mind is part of the process rather than a mistake.
4. Pause and look from a little distance
A design that looks busy from ten centimetres away may read clearly when viewed from across the table. Take a quick photo or step back before fusing. Check the outline, colour balance and any loose bead that may have shifted outside the design.
5. Fuse with care
Follow the instructions for your beads, pegboard and ironing material. Use the correct protective paper or cloth between the beads and the iron, keep the iron moving, and work on a stable heat-safe surface. The OpenClip kit requires a household iron, which is not included.
Heat work should be handled by a capable adult. Keep children and pets away from the hot iron and the work area, allow the finished piece to cool fully, and do not touch heated materials to check whether they are ready.
Why the format feels so open-ended
Fuse beads offer clear rules at the smallest level—one bead fits on one peg—but enormous freedom across the whole board. You can recreate a grid pattern, translate a sketch into pixels, improvise with colour or treat the board like a tiny abstract canvas.
There is also no single “proper” project type. Finished pieces can become small decorations, bag tags, magnets, coasters or gift toppers when made and finished appropriately. They can also remain simply as small artworks. Before attaching hardware or using a piece near heat, food or moisture, check whether the intended use suits the material and accessories you have.
Try one of these prompts when a blank board feels too open:
- turn a favourite three-colour combination into a repeating pattern;
- make a tiny icon that represents today—sun, cloud, coffee cup or flower;
- translate a simple paper sketch into a blocky grid;
- create two versions of one motif: muted and bright;
- choose beads without a plan and stop when the composition feels balanced;
- make a small personal symbol for a friend, then use their favourite colours.
A low-pressure way to enjoy creative time
Many people like crafts that give their hands one clear task. With fuse beads, the next action is always small: choose a colour, place one bead, then decide on the next. That rhythm can feel pleasantly absorbing and may help some makers step away from screens or everyday noise for a while.
That does not make fuse beads a treatment for stress, and the experience will not feel the same for everyone. The useful part is that you can keep the stakes low. Work for ten minutes, cover the unfused board so it stays protected, and return later. There is no need to finish in one sitting or produce something display-worthy every time.
If you notice yourself chasing perfect symmetry, try an intentionally uneven pattern. If too many colours feel overwhelming, use four. If following a chart becomes tedious, change it. High freedom does not mean making every decision at once; it means you are allowed to set your own limits.
Choosing a colour set
A smaller palette suits makers who want a simpler choice or have a few clear projects in mind. A larger palette gives you more neighbouring shades for gradients, detailed pixel art and colour experimentation. Neither is inherently more creative.
The current OpenClip Mini Fuse Bead Kit is available in 24, 48, 120 and 264-colour options. Every option includes the upgraded tool pack and approximately 2,000 extra black and white beads in total; the exact current contents and availability are listed on the product page. You can also browse the Fuse Beads collection.
Frequently asked questions
Are fuse beads the same as Perler beads?
Perler is a brand of fuse beads. The terms are often used interchangeably in searches, but not every fuse bead product is made by Perler. Check the bead size and product instructions before combining materials from different systems.
Do I need a pattern?
No. A pattern can make the first project easier, but the pegboard also works well for original pixel art, geometric designs and colour experiments.
Can I change a design before ironing?
Yes. Before heat is applied, beads can be lifted, moved and replaced. Use this stage to test outlines, colours and spacing without treating changes as errors.
Does the OpenClip kit include an iron?
No. A household iron is required and is not included. Follow the current kit instructions and use the supplied protective ironing material as directed.
Are fuse beads relaxing?
Some people find the repeated placing and colour choices enjoyable and absorbing. It is a personal creative experience, not a guaranteed stress-relief or health outcome.
Start with a shape small enough to finish—or pause—without pressure. Choose a few colours that catch your eye, place the first bead and let the picture change as you go. That freedom is the best part: the grid gives you structure, but the design remains yours.