
26 August 2026
Portable Coffee for Road Trips: A Practical Packing Guide
By OpenClip
Plan better coffee stops on an Australian road trip with a simple kit for water, coffee, charging, cleanup and safe use away from a kitchen.
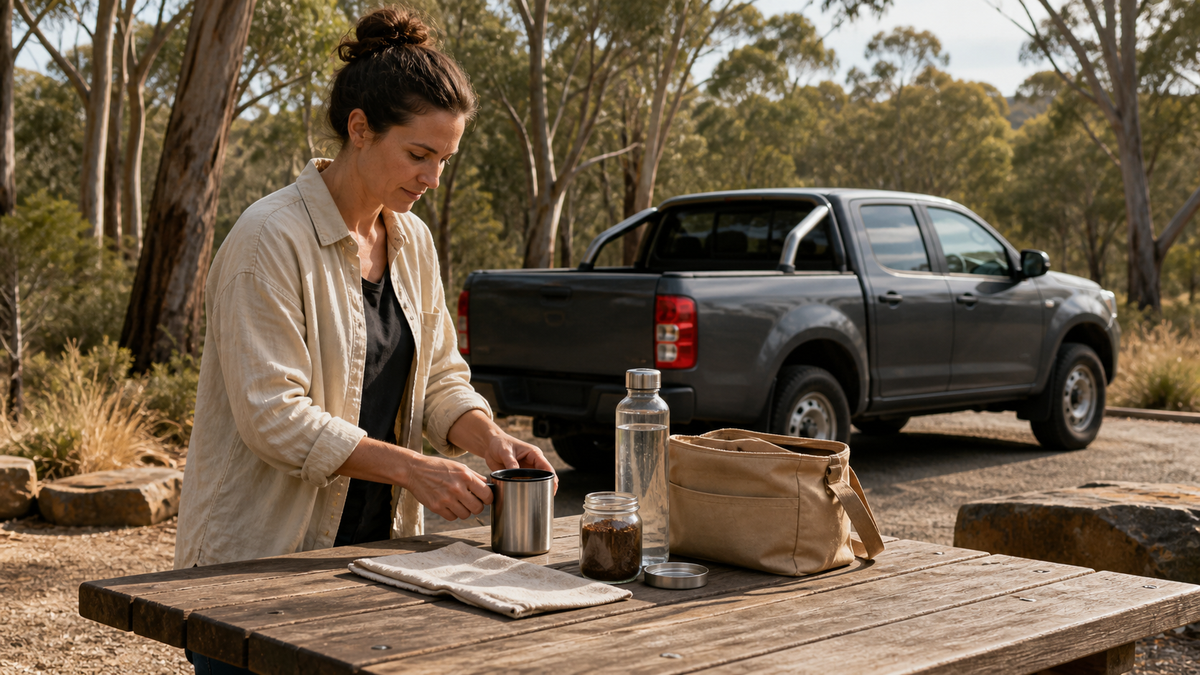
A practical road-trip coffee kit needs five things: a portable brewing method, the coffee format it accepts, measured water, a suitable power or charging plan, and a simple way to clean up. Pack each part together, choose safe stopping places before you leave, and test the full routine at home. The goal is not more gear; it is fewer missing pieces when you want a coffee away from a kitchen.
Start with the kind of trip you are taking
The right coffee setup depends on the route, not just the brewer. A day trip with regular town stops is different from an early work run, a long highway drive or a weekend at an unpowered campsite. Before packing, consider how many coffees you expect to make, whether drinking water will be available, how you will recharge, and where the used coffee will go.
Build the kit around realistic stops. Never prepare or handle hot drinks while driving. Pull over somewhere legal and safe, park securely, and use the brewer on a stable surface in accordance with its instructions.
Choose one brewing format for the day
Using one coffee format keeps the kit compact. Capsules are individually portioned and convenient to count, while ground coffee gives you more choice over the coffee you pack. Whichever you choose, confirm that it is compatible with the brewer before leaving home.
The EspressoOne™ Portable Espresso Maker supports large capsules, small capsules and ground coffee. That flexibility is useful across different trips, but you do not need to carry all three options every time. Select the format that suits the route, pack the correct adaptor or brewing component, and bring one extra serve in case plans change.
Measure water before you leave
Pack drinking-quality water separately from water used for washing hands or equipment. EspressoOne has an 80mL water tank, so a small clean bottle can cover several brews without taking up the space of a large container. Measure at home if you want to understand how much water the planned number of coffees will require.
Do not fill above the appliance limit or add anything other than what the manufacturer permits in the water tank. Milk, sweeteners and flavourings belong in the cup, not in a water system unless the instructions explicitly say otherwise. Follow the product manual for filling, assembly and operation.
Plan charging around the route
A rechargeable brewer is only useful when it has enough charge for the intended stops. Charge it before departure using the specified equipment and check the display or status indicator. Pack the correct charging cable in the same pouch as the brewer rather than relying on a loose cable in the car.
EspressoOne has a 7800mAh rechargeable battery and a 72W heating system. Shopify product information states that, when starting with cold water, it heats to 90°C in approximately 5–6 minutes before extraction. Actual use can vary with starting water temperature, conditions and battery state, so treat the timing as a planning guide rather than a promise for every brew.
Pack the kit as one complete system
A dedicated tote, small crate or drawer keeps the brewing parts together and prevents small components from disappearing under luggage. A useful road-trip coffee kit can include:
- the charged portable coffee maker;
- the compatible ground-coffee basket or capsule adaptor;
- the planned coffee serves plus one spare;
- a clean bottle of drinking water;
- the supplied cup or another compatible cup;
- the correct charging cable;
- a clean cloth and a small sealable container for used grounds or capsules;
- any milk or perishable additions in appropriate cold storage.
EspressoOne includes a 200mL cup and has a compact body measuring 7.3 × 7.3 × 24.5cm at approximately 695g. Those verified dimensions can help you choose a stable storage spot where the brewer will not roll, be crushed or sit in direct sun.
Keep milk and other perishables properly chilled
Black coffee ingredients are simple to carry, but fresh milk and some plant-based drinks require refrigeration after opening. Use an insulated cooler with adequate cold packs and follow the label instructions. Keep the cooler closed as much as practical and separate drink ingredients from raw foods.
If milk has not stayed properly chilled or its storage history is uncertain, discard it. Do not rely on smell alone to determine food safety. Current Australian food-safety guidance and the product label should take priority when you need a specific time or temperature limit.
Use the brewer on a stable, clean surface
A picnic table, tailgate setup or firm camp bench is more suitable than balancing the brewer on a seat or uneven ground. Keep the area clear, make sure the cup is positioned correctly, and be mindful that the coffee and parts may be hot.
EspressoOne lists an LCD display and dry-boil protection, but protective features do not replace correct use. Add water as directed, assemble the appropriate brewing parts, and supervise the process. Keep the device and hot drink away from children, pets and the edge of a surface.
Make cleanup part of the stop
Used grounds and capsules are easier to manage when you have already decided where they will go. Allow hot parts to cool as directed, remove the used coffee, and place waste in a small closed container until it can be disposed of appropriately. Do not leave grounds, capsules or rinse water at a roadside stop or campsite.
Wipe spills promptly and clean the brewing components according to the manual when facilities are available. Avoid immersing powered components unless the instructions specifically permit it. A quick home reset after the trip—cleaning, drying, charging and restocking—makes the next departure easier.
Test the routine at home first
A home trial confirms that the coffee format fits, the components are present, the cup sits correctly and you understand the operating sequence. It also shows how much water and coffee you actually use. Run the test with the same kit you plan to take, then pack the parts together as soon as they are clean and dry.
This small rehearsal is especially worthwhile before a remote trip. It reduces the chance of carrying a charged device but forgetting the adaptor, cup or coffee.
Frequently asked questions
Can EspressoOne use ground coffee and capsules?
Yes. Current Shopify product information lists three brewing options: ground coffee, large capsules and small capsules. Pack the matching brewing component for the format you choose.
How much water does EspressoOne hold?
EspressoOne has an 80mL water tank. Use drinking-quality water and do not exceed the product’s fill limit.
How long does EspressoOne take to heat cold water?
OpenClip states that the 72W heating system brings cold water to 90°C in approximately 5–6 minutes before extraction. Timing may vary with the starting temperature, conditions and battery state.
Can I make coffee while the car is moving?
No. Stop and park legally in a safe place before preparing a hot drink. Use the appliance on a stable surface and follow its operating instructions.
What should I do with used grounds or capsules?
Let components cool as directed, place used coffee in a closed container, and dispose of it appropriately when facilities are available. Leave no waste at roadside or outdoor stops.
The practical takeaway
Good road-trip coffee comes from a complete, repeatable kit: compatible coffee, measured water, a charged brewer, a stable place to use it and a cleanup plan. EspressoOne brings three brewing formats into one compact rechargeable device. Choose one format for the day, test it before departure, and pack every required part together so the coffee stop stays simple.